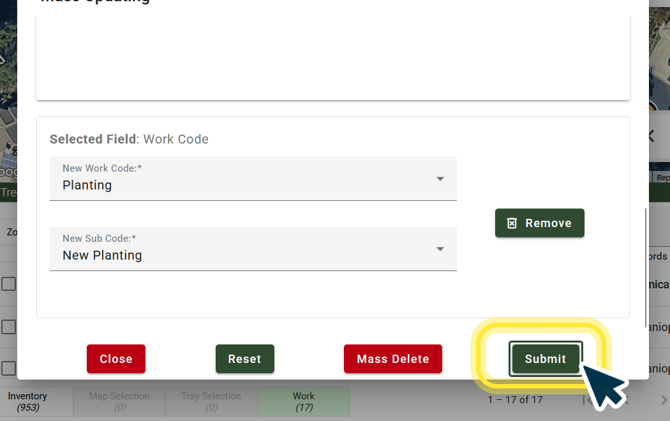
Step 1.) Select Work List Records
• Open your Work List Pane, represented by the list icon and located in your Data Analysis Toolbar on the left-hand side of your screen.
• From your open Work List Pane, select the list with the specific trees you want to update.
Selecting a Work List will pin it to the top of your screen.
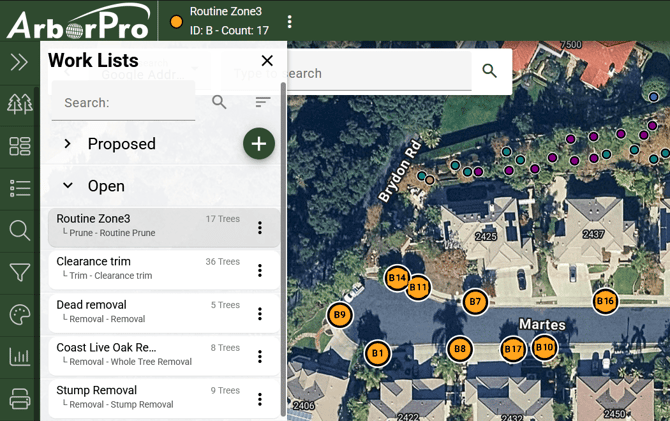
Step 2.) Open Inventory View
•Open your Inventory Tray clicking Open Inventory View or anywhere within the green bar of your screen.
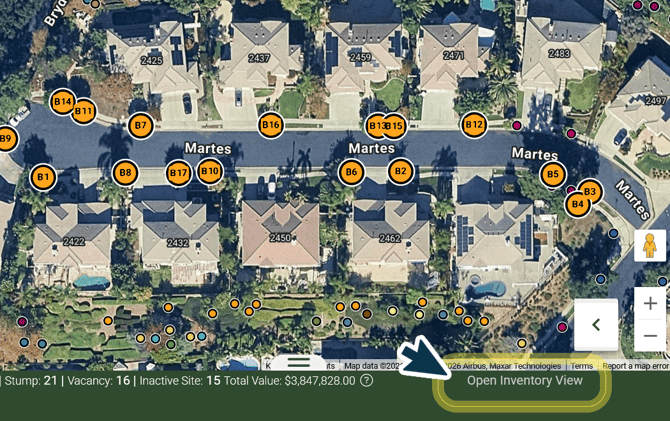
Step 3.) Select the Work Tab
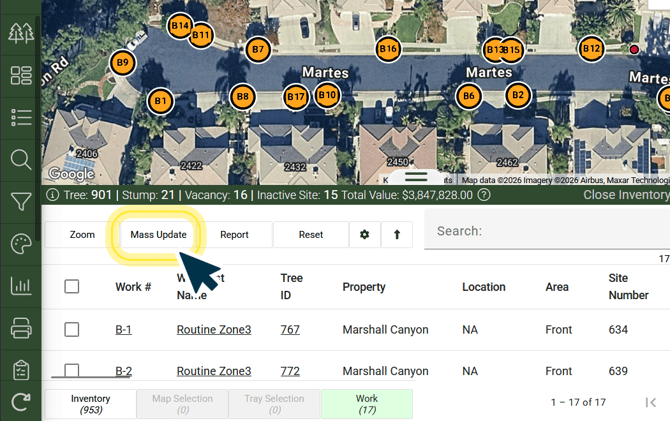
•Click into the Work tab located at the bottom of your Inventory View before selecting Mass Update.
Important: You must be on the Work tab for the work record fields to appear in the Mass Update window.
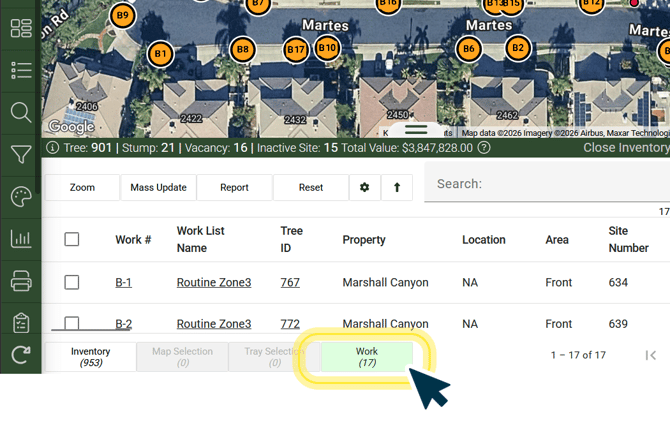
Step 4.) Configure the Mass Update
• Click Mass Update from the menu options located at the top of your Inventory View.
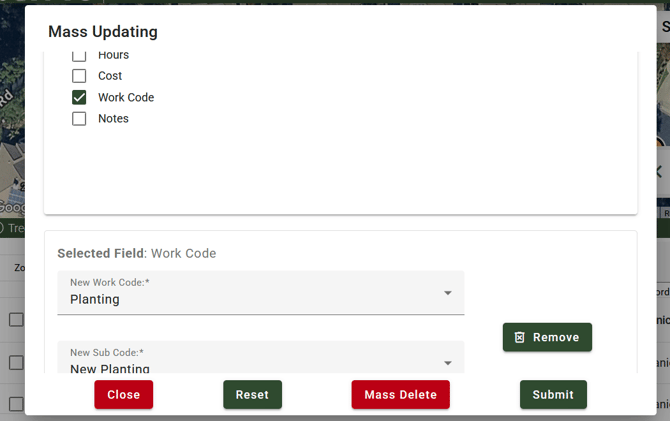
A new Mass Updating window will open. Then:
- Check the box next to the field you want to modify.
- Enter the new information.
Step 5.) Verify the Records Being Updated
• Before submitting the update, review the top of the Mass Update window to confirm the correct records are selected.
• Make sure ArborPro is updating your map selection rather than the entire Work List.
Step 6: Submit the Update
• Click the green Submit button at the bottom of your window. A confirmation box will appear. Click Yes to continue.
The selected work records will be updated with the information you entered.
Tip: Always verify the number of records being updated before submitting. This helps prevent accidentally applying changes to the entire Work List.