Step 1.) Create a Selection:
• Create a selection of the Data Points that need to be included in the report.
ArborPro Tip: You can perform a mass selection by using the Object Selection Button or performing a Search. Your Tree Dashboard count will update to reflect the number of points selected vs. the number of total Active Points within the software.
Step 2.) Open Inventory View:
• Click the Inventory View button in your Inventory Metrics to view all selected points. 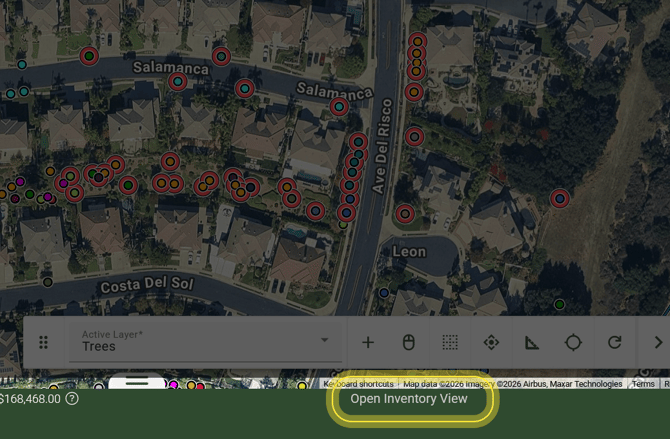
Step 3.) Use the Check Boxes to select Points:
• Optional: Check the box to the left of a record to include the Data Point in your report. You can select additional Data Points as needed. 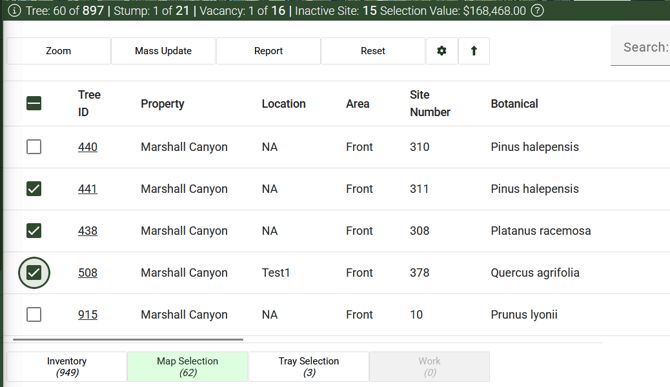
Step 4.) Click Report and Select Your Dataset
• Click the Report button in your Inventory Tray.
• Click the Select Dataset dropdown menu from the Report dialogue box to select which Dataset will be included in the report. 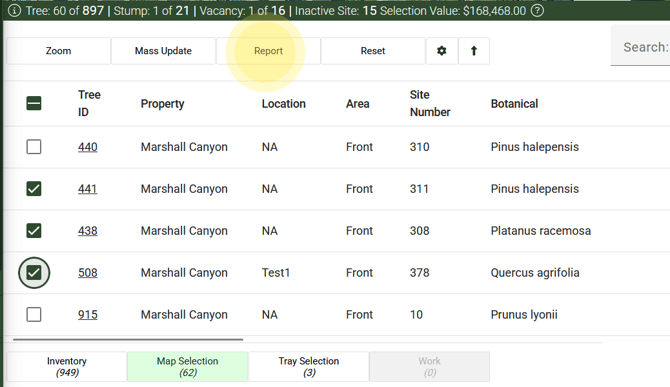
ArborPro Tip: If only one field is selected for the report, toggle the checkbox next to “Summarize Data” to have that field summarized automatically.
Step 5.) Customize Data and Fields:
• Scroll down and review your fields
• Click on the checkbox next to a field within your Data Settings to select or deselect a column in your final report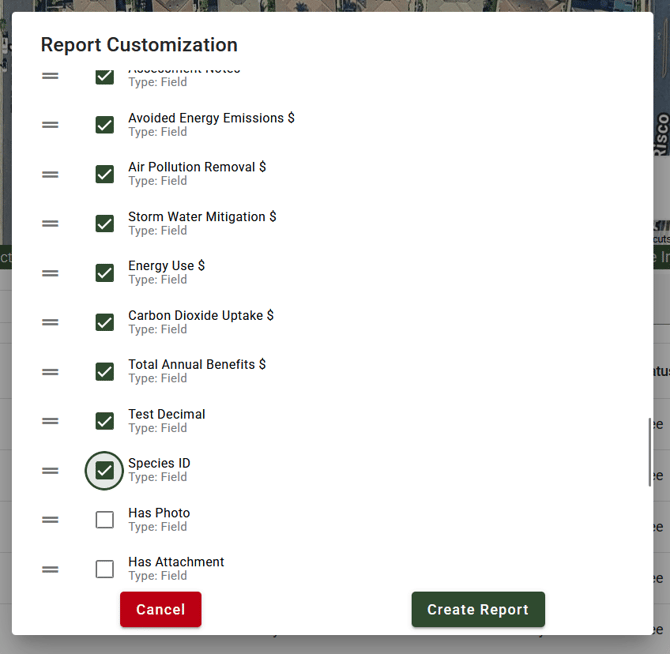
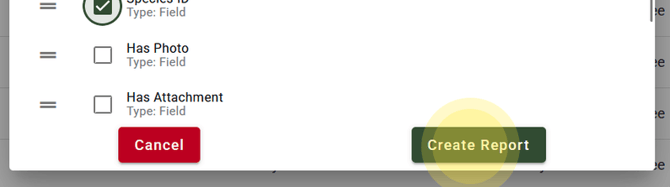
Step 6.) Create Report:
• Click “Create Report” to automatically download your report as a CSV file.